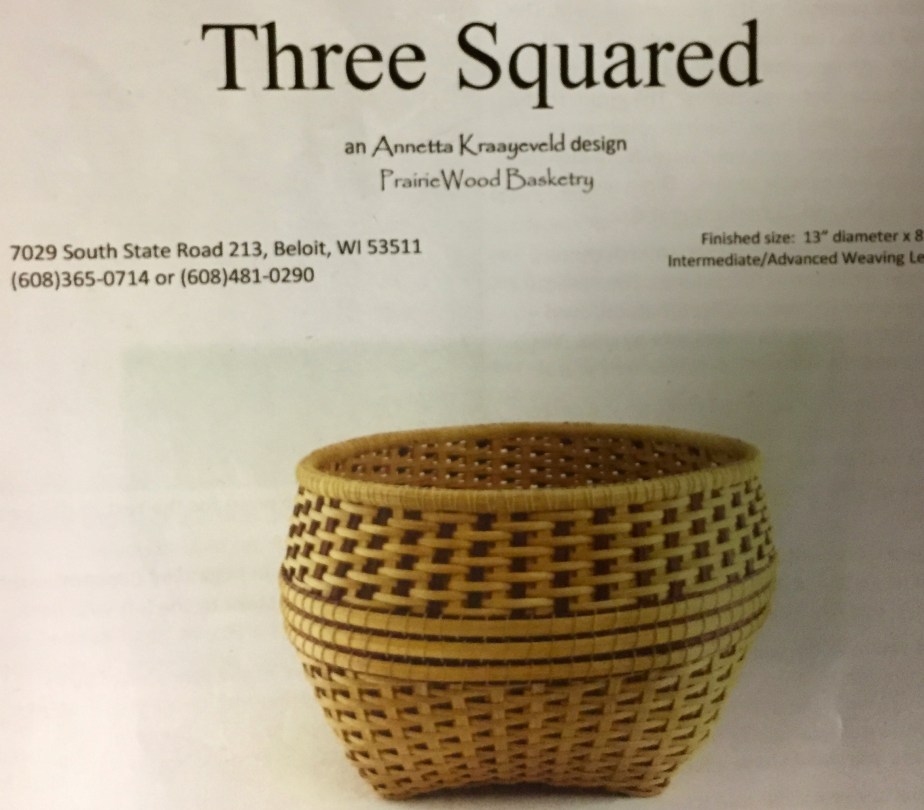
Starting a classic 3/3 twill basket.
Years ago, when looking for an easier way to start a base when teaching beginners, I came up with this technique. I use it instead of the classic 2×2 twill base that most instructions call for.
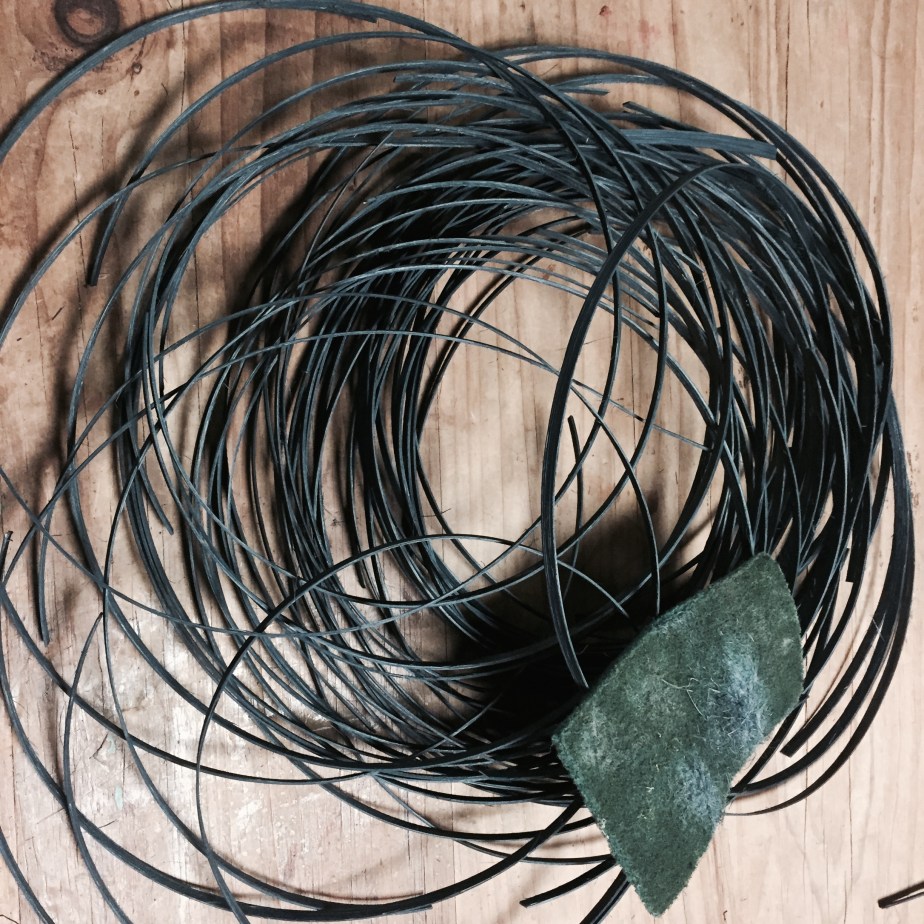
First I sand the stakes using a green Scotch Brite Green scrubby pad. Fold the pad in half and pull each stake through the fold once or twice in each direction. Voila, most of those pesky hairs are gone.
I taught myself to weave using information and instructions from many different books. In Shereen LaPlantz’s book “Plaiting Folios” she wrote about weaving bases from the center out, stating:
The easiest way to achieve equidistant tension is to start plaiting the base in the center. Plait two elements across two elements in the over one, under one pattern. Continue plaiting the base by adding one element to each of the four sides. Continue this until the base is the desired size. Adjust your tension as you go.
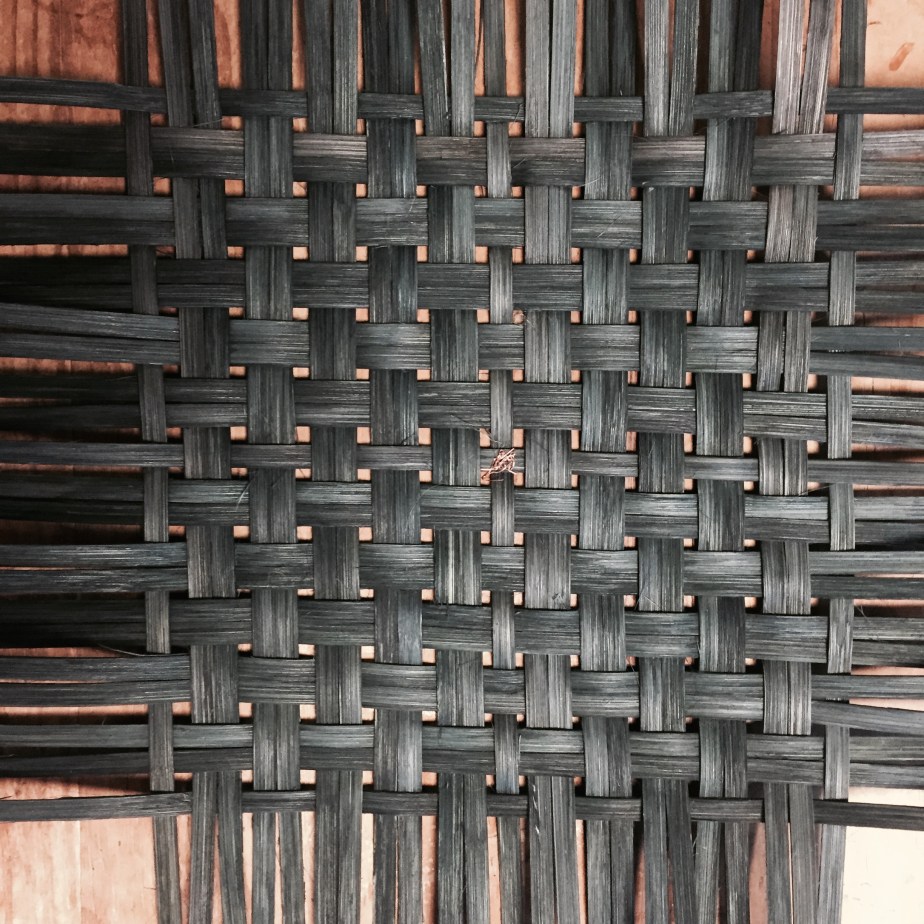
That made a lot of sense to me, and I do all my bases using her center out technique. I mark the center with a piece of wire or waxed linen, to help me keep track of my place. When I’m done, it’s easy to snip out.
Although Shereen passed away years ago, many of her books are still available. Check out Amazon, or your favorite online book store. Some of her books are back in print. and many basket suppliers, like Royalwood and The Caning Shop carry them.

The finished base. Note the single spokes in the center; necessary because I have an odd number of spokes vertically and horizontally. If there were an even number of spokes, I would place a pair of spokes in the center both horizontally and vertically.


 I start with either one image, cut in half or two different images, like the ones below. You must be aware of the copyright laws on derivative art, if you are using someone else’s images.
 Here’s another I finished this week:
 This one uses a slightly different technique. Two photos, the same image, one black and white, the other colored, woven together. The piece is less abstract.
 The follow two pieces are garden photos. Each has two different photos woven into each other. I like the way you can see the pagoda in this one.
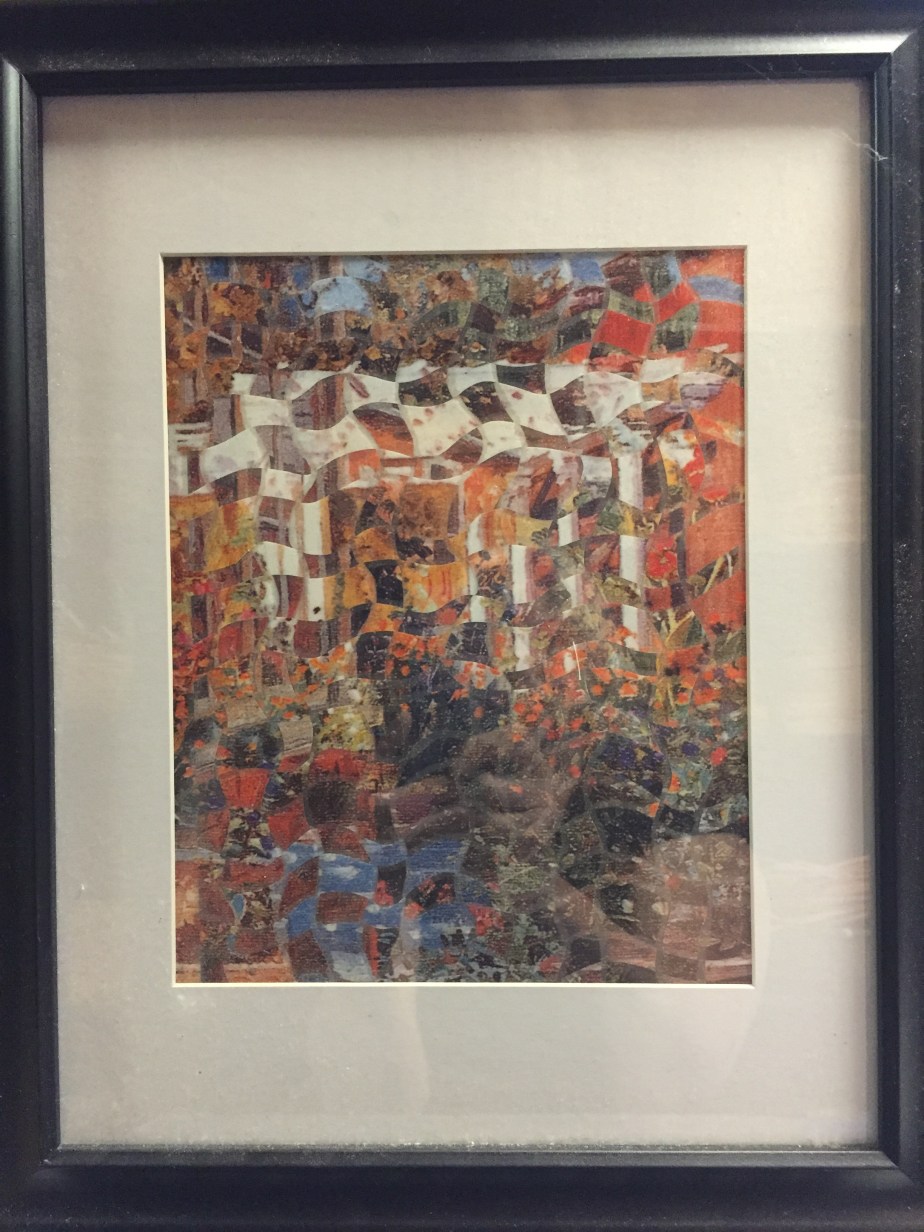 Although these were both garden images, with no people or statues, I see a magi in this one.


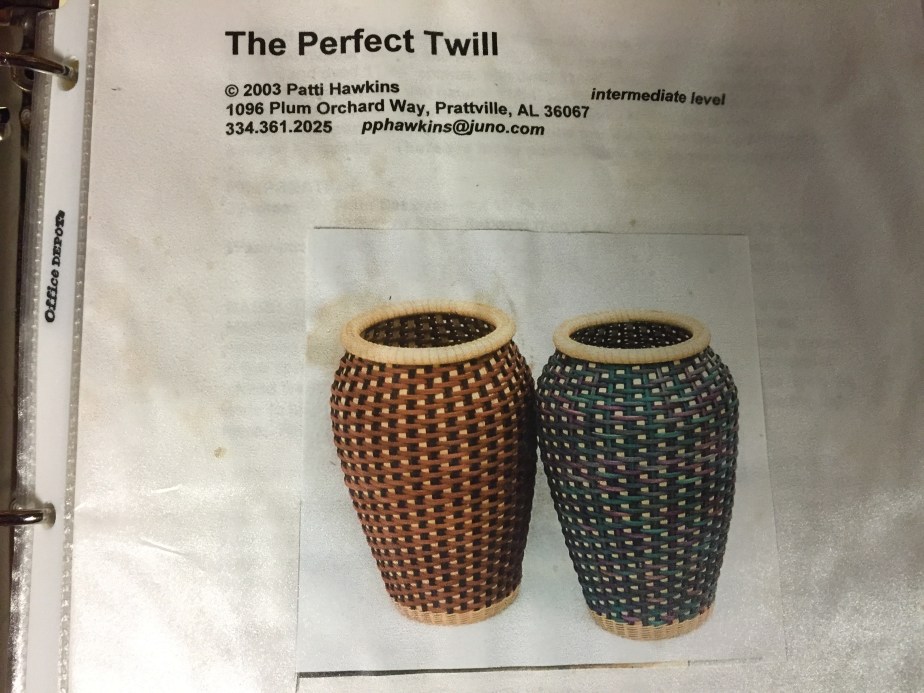
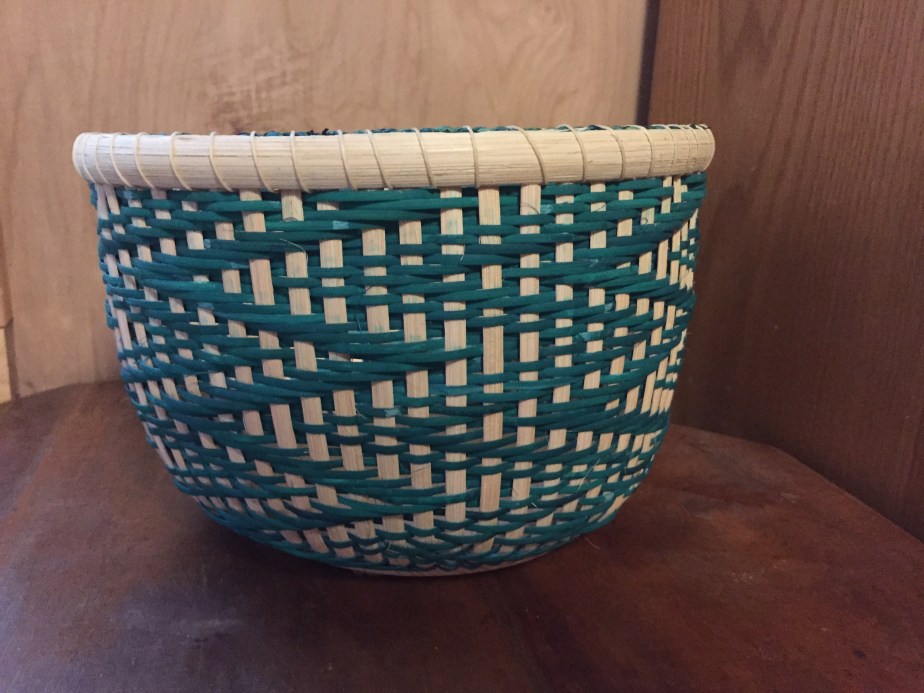
 Tip: when working with dyed reed, you can use a permanent marker to hide any little imperfection in the dyed reed.
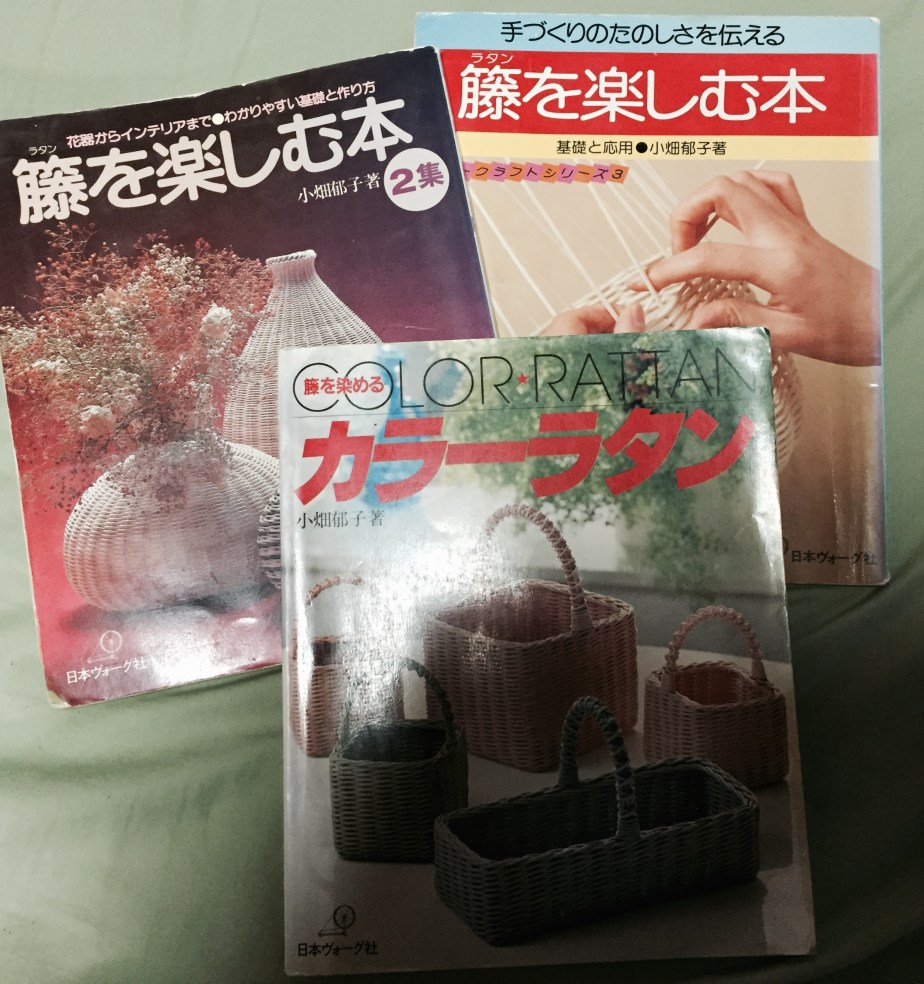
 Back in the early 80’s I learned to weave from 3 Japanese books recommended to me by Jim Widess from the